
Maintenance Windows
Why schedule maintenance
Section titled “Why schedule maintenance”Without a maintenance window, planned downtime looks exactly like an outage: your monitors go DOWN, alerts fire, and your status page shows red. Scheduling maintenance ahead of time keeps everyone informed without the noise.
Every plan can schedule maintenance windows. What differs is how many can be in progress or scheduled at the same time: 1 on Free, 2 on Pro, unlimited on Max and Enterprise. Ended or cancelled windows never count.
Create a maintenance window
Section titled “Create a maintenance window”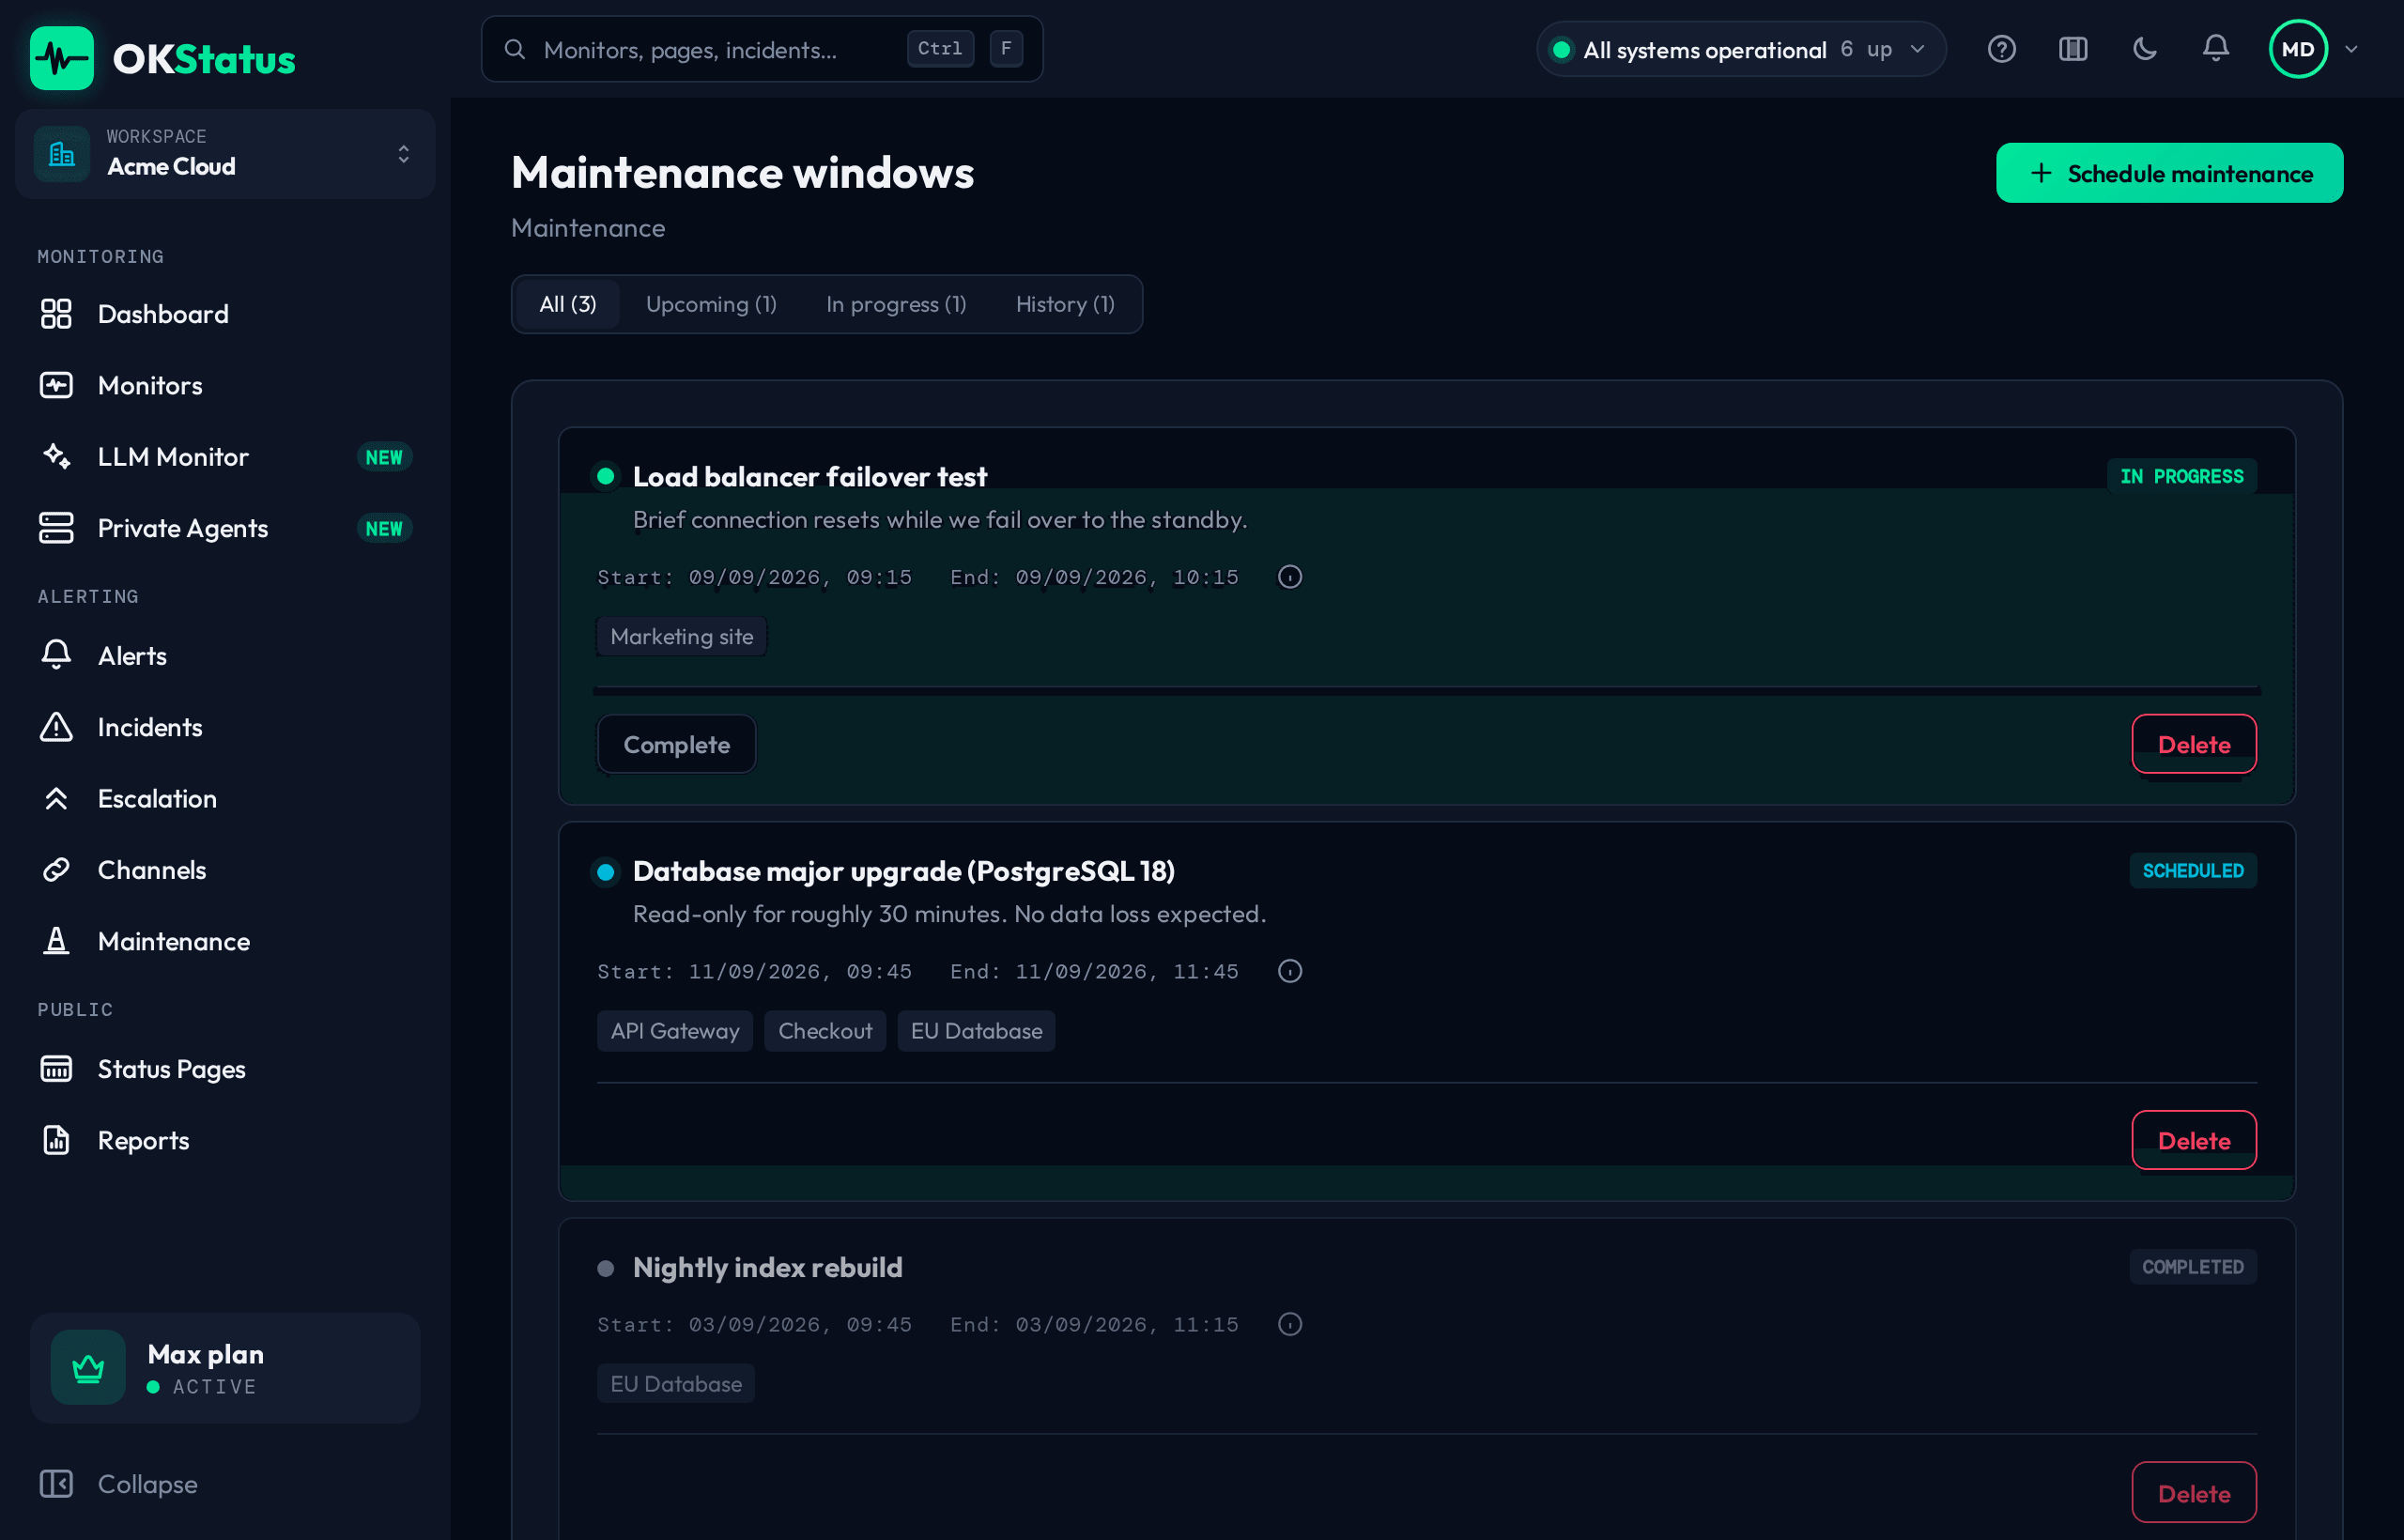
- Go to Alerting → Maintenance and click Schedule maintenance.
- Enter a title and an optional message for your users.
- Select the affected monitors.
- Set the start time and either a duration (30m, 1h, 2h, 4h, 8h) or a custom end time.
- Publish it.
The list has two views: a table, and an Agenda — a week or month calendar in your time zone, where windows in progress, scheduled and past are told apart at a glance. The tiles above it show the window in progress and when it ends, the next one, what is scheduled over the next 30 days and the maintenance time used this month.
What happens during a maintenance window
Section titled “What happens during a maintenance window”- Affected monitors keep being checked as normal — monitoring never actually stops.
- Their status is overridden to a dedicated maintenance state (shown in blue, distinct from both “up” and “down”) on the dashboard, the monitor list, and the public status page.
- Alerts for those monitors are suppressed for the duration of the window — a check failing because you’re mid-deploy won’t page anyone.
- The status page shows the maintenance window in advance if it’s scheduled for the future, and live while it’s in progress.
Auto-close
Section titled “Auto-close”A maintenance window closes automatically once its scheduled end time passes — there’s nothing to remember to turn back off. If work finishes early, you can also end it manually from the maintenance list.
Best practices
Section titled “Best practices”- Schedule maintenance before you start deploying, not after alerts have already fired.
- Keep the message specific (“Database migration, ~30 min of elevated latency”) so subscribers know what to expect.
- On a status page with Planned maintenance ticked, subscribers get an email when you schedule the window (if it starts more than an hour later), when it starts and when it ends or is cancelled — see Alerts from a status page.
- If a maintenance runs long, extend it rather than letting it auto-close and alerts start firing again mid-work.